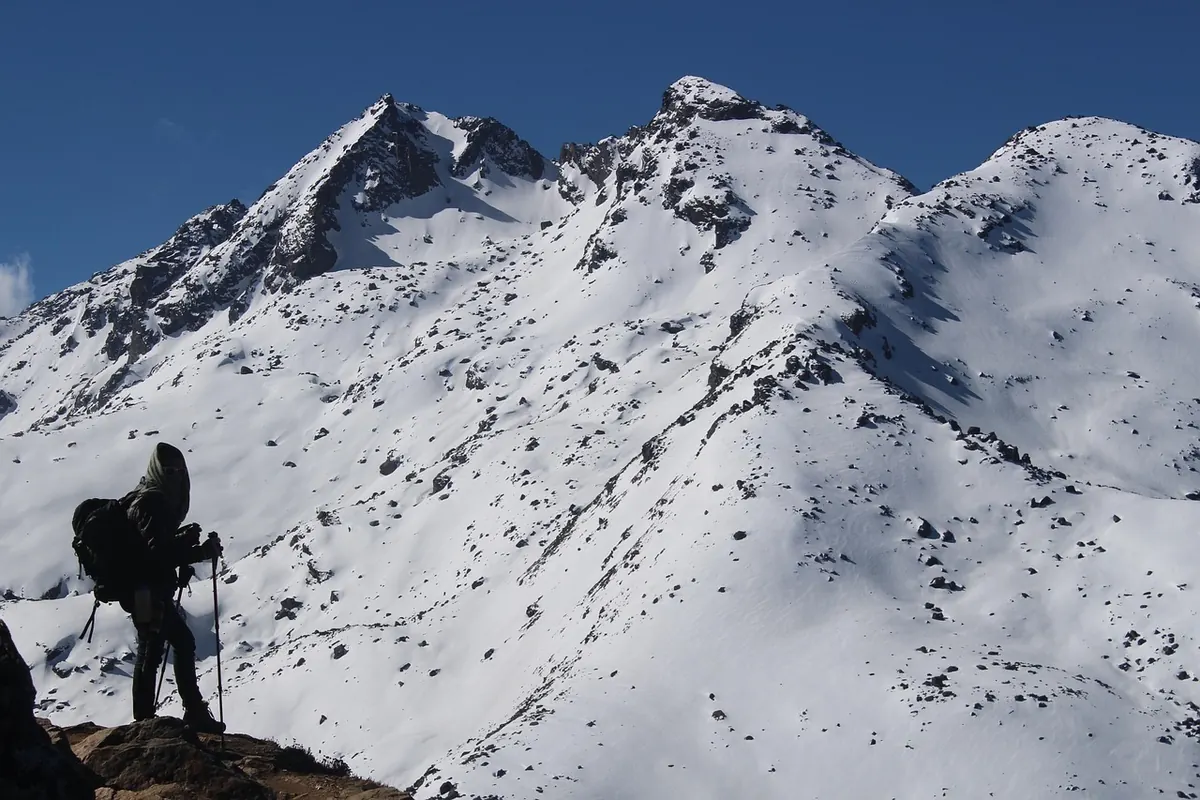
Winter Hiking in the Scottish Highlands: What to Wear and When to Turn Back
A winter day on the Scottish hills can be the best day of your year. It can also be the one where a small mistake — a late start, a wrong bearing, boots with no grip — turns a good walk into a long, cold evening. The difference rarely comes down to gear alone. It comes down to what you wear, how you read the day, and knowing when to stop.
Read the Forecast Before You Pack
Two forecasts matter more than any other in Scotland. The Mountain Weather Information Service (MWIS) gives wind, cloud, freezing level and precipitation for the main hill areas. The Scottish Avalanche Information Service (SAIS) publishes a daily avalanche hazard for five areas, usually from December through April. Read both — the night before as well as on the morning.
Wind is usually what decides the day. Once it climbs above roughly 40 mph, plenty of people find it hard to walk steadily; above 60 mph, progress becomes a genuine fight. Treat numbers like that as a reason to lower your ambitions, not as a challenge. A 900-metre Corbett in a 50 mph westerly is a far bigger day than a Munro in calm air, and the summit is not worth the walk back along an exposed ridge in the dark.
Check the freezing level and the snow line too. If snow starts at 500 metres, a low glen walk may be the better plan. If it starts near 800 metres, you can often climb most of the way in boots and save the crampons for the top section.
Layering: Three Jobs, Not Three Jumpers
Every layer has a job. Getting that right is the difference between a comfortable day and a miserable one, and it has very little to do with how much you spend.
- Base layer: merino or synthetic, close to the skin. Cotton soaks up sweat and stays wet; leave it at home.
- Mid layer: fleece or light synthetic. Two thin layers beat one thick one, because you can adjust in small steps.
- Insulated layer: a synthetic or down jacket that fits over everything else, for stops, lunch and the summit.
- Shell: a waterproof, windproof jacket with a hood that stays up in a gust, plus overtrousers you will actually put on.
- Extremities: two or three pairs of gloves, a warm hat and a spare buff. Hands and heads lose heat quickly in wind.
Start cold. If you are warm in the car park, you are wearing too much. Take a layer off before you start sweating, not after — damp clothing is heavy, and it chills you the moment you slow down. A typical winter ascent has a rhythm to it: shed a layer on the steep pull, add it back the instant you stop. Learn that rhythm and you will spend the day comfortable rather than either shivering or steamed up.
Feet, Traction and Honest Limits
Winter boots need stiff soles, a waterproof upper and enough room for a thick sock without cramping your toes. Some are compatible with crampons, some are not, so check the rating of boots and crampons together before you buy or borrow. Try the combination at home, on carpet, so you know how the straps and bails work before you are standing on a slope with gloves on.
There is a real difference between traction aids and mountaineering kit:
- Microspikes or similar: for icy paths, forest tracks and modest packed snow on gentler ground.
- Hillwalking crampons: ten or twelve points, for firm snow on steeper slopes, matched to stiff boots.
- Ice axe: for ground where a slip would be serious — along with the skill to arrest one.
That last point deserves honesty. Carrying an axe you have never practised with offers less protection than it appears to. If you have not learned to use one, ideally on a course or with someone experienced, the sensible move is to stay on ground where you will not need it. Sliding on hard snow or ice is nothing like sliding on wet grass: you pick up speed quickly and the surface does nothing to slow you down.
Daylight Is Your Real Deadline
In the depths of December, the far north gives you barely six hours of usable light, and the Central Highlands not much more. Cloud, a north-facing corrie and a late-afternoon shadow all shorten the day further. Plan to be off the hill in daylight, not to reach the car park as the last of it disappears.
Do some arithmetic before you go. Naismith's rule is a decent starting point: allow about 4 km/h on the flat, plus a minute for every 10 metres of ascent. Take a route of 12 km with 900 metres of climbing. That is roughly three hours of walking plus ninety minutes of ascent — four and a half hours. Add a third to a half again for winter conditions and you are at six hours before you have stopped for lunch. A 9am start has you finishing in the dark.
Carry a headtorch with spare batteries and test it at home. Carry a second small torch as well. Reaching for the torch at half three because the cloud came down is normal in winter; it should not come as a surprise.
When to Turn Back
Pick a turnaround time before you set off — a time, not a summit — and write it down. Then treat it as a real decision rather than a suggestion. The hardest turnarounds are the ones where you are 200 metres from the top and the cloud is starting to thin.
Watch for these signals:
- The wind is stronger than forecast, or spindrift is filling your footprints behind you.
- The surface underfoot has turned to ice where you expected rock or soft snow.
- Someone in the group is getting cold, quiet or slow, and is not warming up.
- Visibility has dropped to the point where you are following a screen rather than reading the ground.
- You have passed your turnaround time.
One of these is worth a conversation. Two or three together is usually a clear answer. Make the decision while you are still warm and thinking straight, rather than at the point where you are committed and the light is going. Turning back is a skill, and days that end early are rarely the ones people regret.
What to Carry, and Who to Tell
Bring a paper map and compass, and know how to use them — a phone is a useful backup, not a plan. Add a foil survival bag, a first aid kit, a whistle, spare food, a flask and a battery pack kept somewhere warm. Tell someone your route and your expected return time, and leave a note on the dashboard. If something does go wrong, call 999, ask for the police, and then ask for mountain rescue.
Cold and exertion at height ask a lot of your body. If you have a heart, lung or other medical condition, or you are returning to the hills after a long break, have a word with your GP before taking on big winter days. That is general advice, not a substitute for a proper conversation with them.
Before You Leave the Car Park
Run through a short routine. Have I read MWIS and SAIS this morning? Do my crampons fit these boots? Can everyone in the group take a bearing and follow it? Is there a turnaround time, and does everyone know it? Is the headtorch working? Is there spare food and a hot drink? And is the biggest option genuinely the right one today, or would a lower, shorter route be the better call?
Then go and enjoy it. A still, blue winter day above a cloud inversion is one of the finest things Scotland offers, and the preparation is what puts you up there to see it.
Photo: Rabi / Pixabay